This is our weekly bake. It keeps well through the week in the bread bin and the flavor and textures sing when toasted.
Ingredients
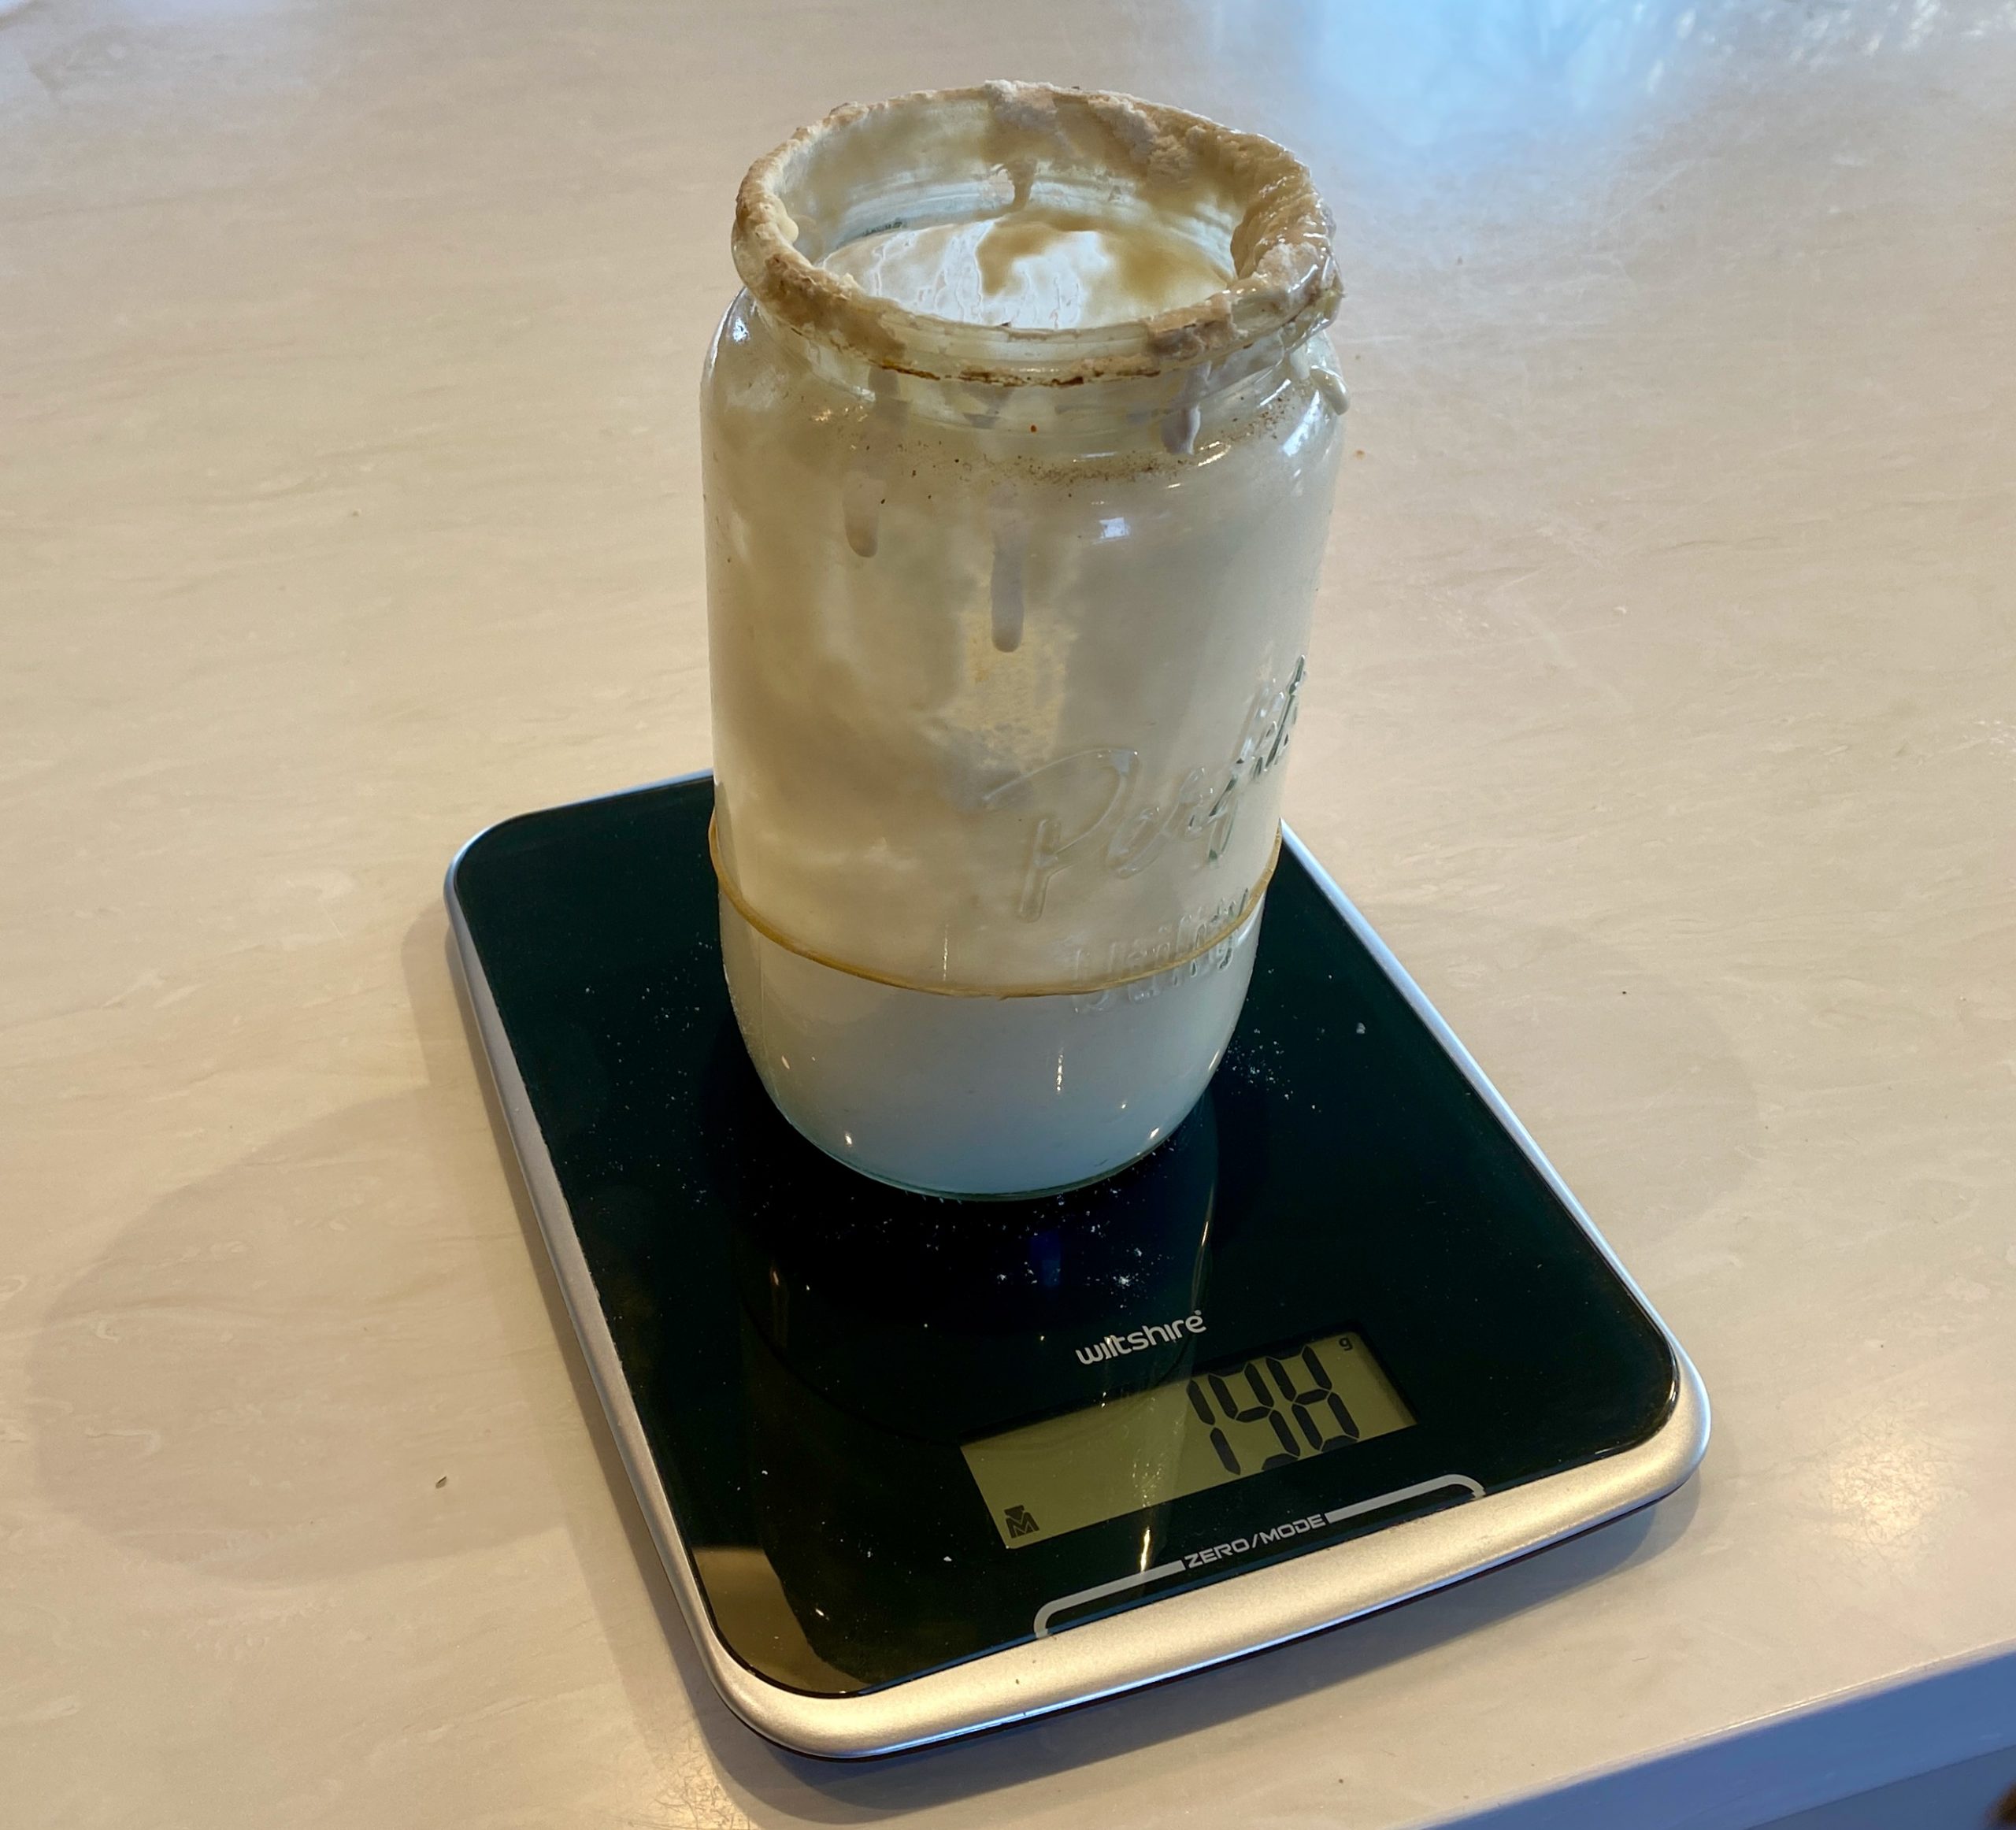
- 200g of Sourdough starter
- 400g of water
- 600g of flour
- 15g of salt
- 2 Tbs of Powdered Turmeric
Steps
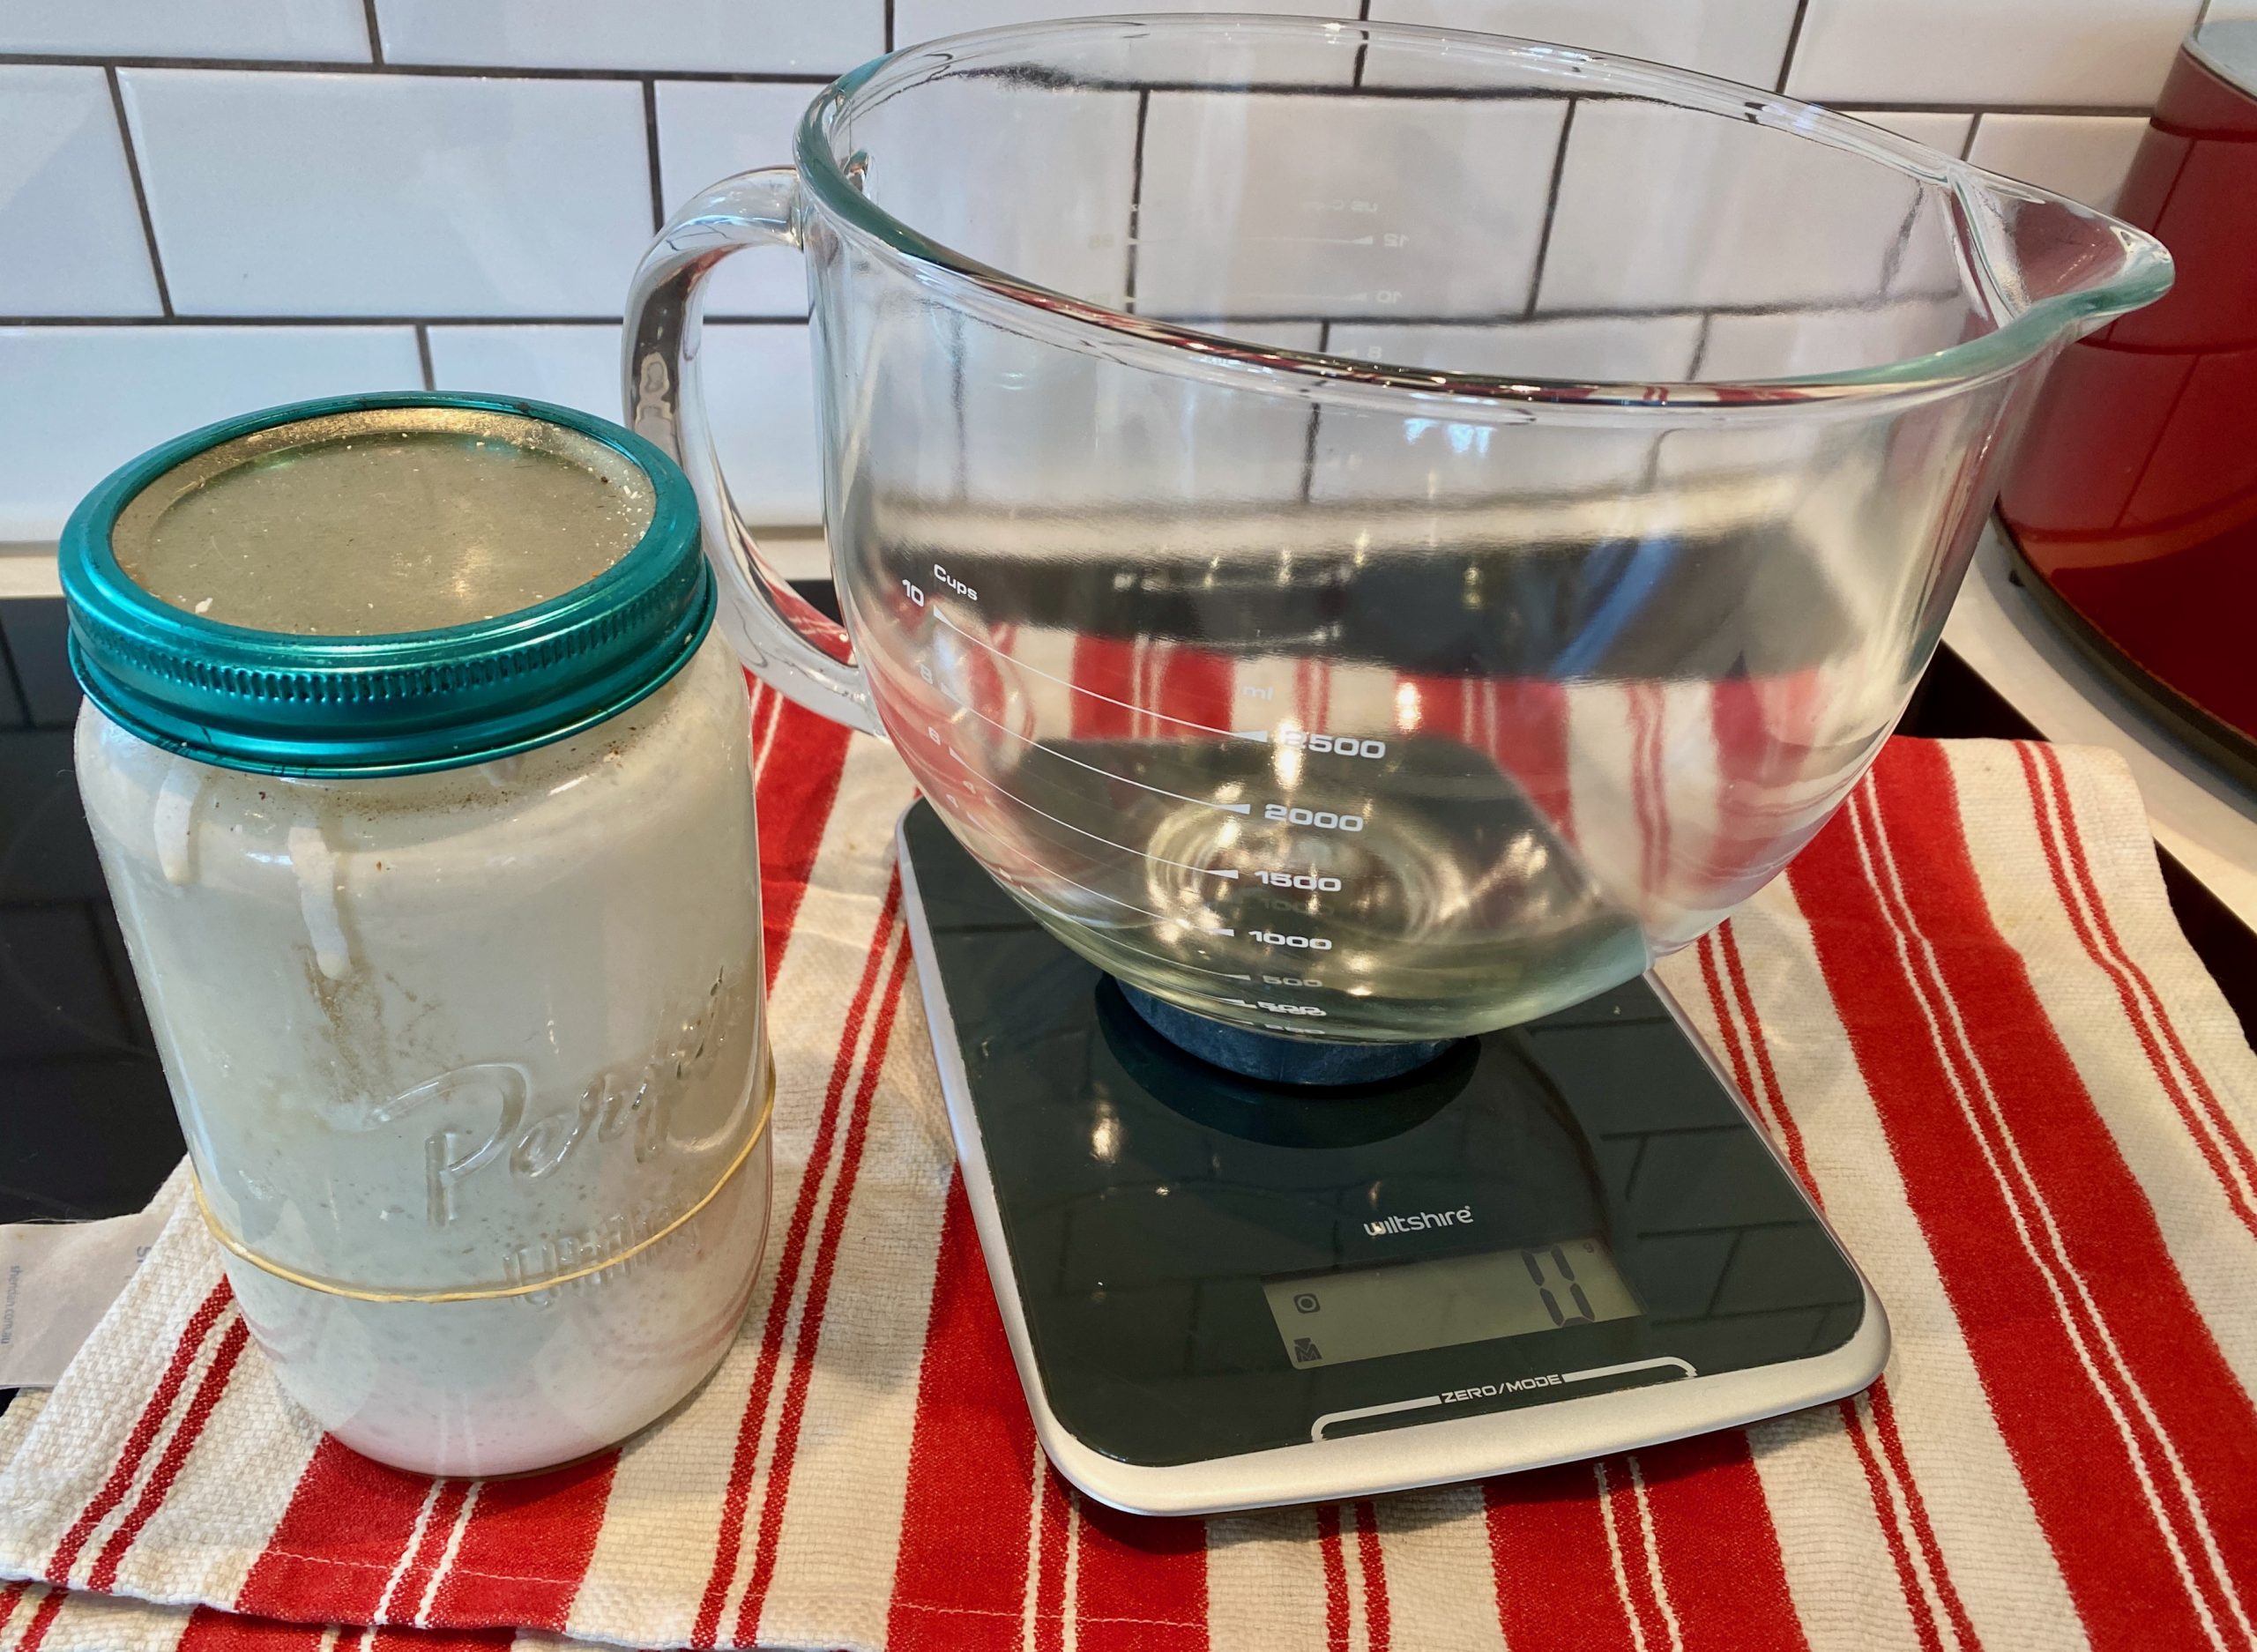
- Lite mix – Add 400 grams of water to your mixing bowl then the 200 grams of sourdough on top (it should float). Now add 600 grams of flour (I’ll usually use upto 200 grams as wholegrain). Lower the dough hook and run the mixer on low just long enough for the contents to combine.
- Rest – lift the dough hook out of the bowl (a bread knife can help to ease dough off the hook). Cover with a tea towel and let rest for 30min.
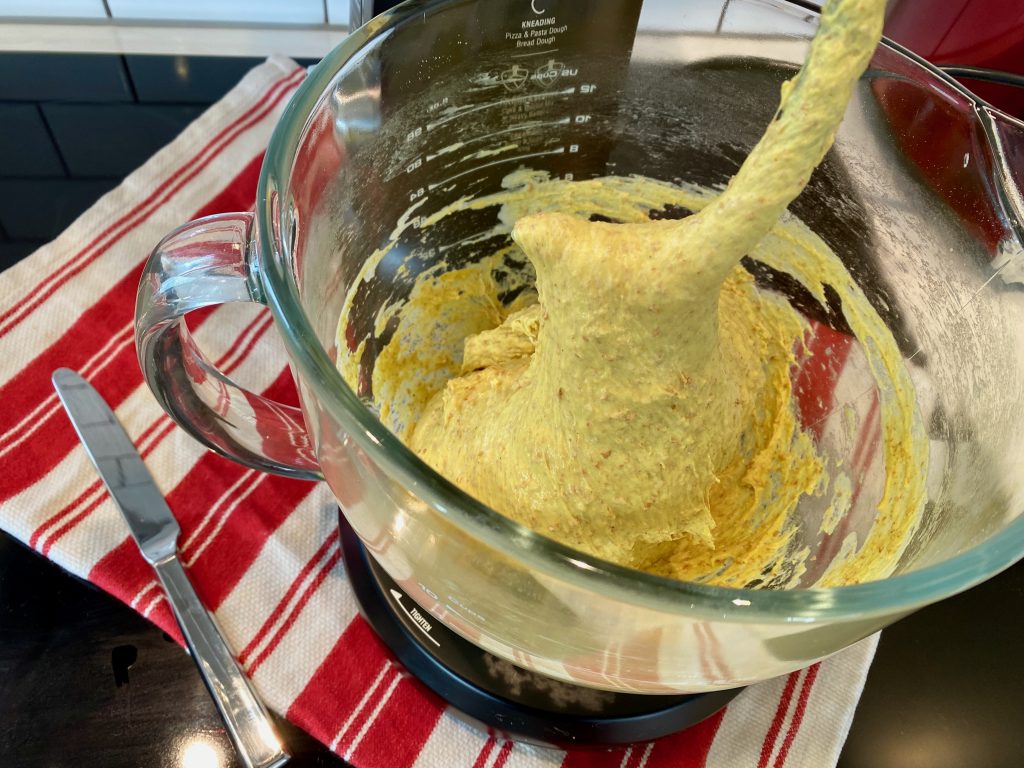
- Add salt – combine the salt with the smallest amount of water that will let the most of it dissolve (1-2Tbs). Add this salt mix to the bowl. This is when I usually add some spice or herbs – usually Tumeric, id adds some color, flavor, and apparently health benefits. Most important of all… don’t forget the salt!
- Main Mix – With the salt added, lower the dough hook back into the dough and run on a low mixing speed for 7 minutes.
- Long rest – Remove the dough hook (again, the butter knife will help), cover the bowl with a tea towel and leave to rest in a warm spot for four hours.
- Envelope fold – sprinkle liberal amounts of flour on a clean surface and turn the dough into it. The dough will resist so ease it out of the bowl with a dough scraper or clean hands (also dusted with flour and fingers cupped together). As soon as the dough is on the floured surface, start to lift it and flip it over onto another section which is floured. Boldly hold the right side of the dough pull out (~20cm) then fold pack onto the rest of the dough. Perform a similar action with the left side, then the top and finally the bottom. This is called the envelope fold). Cover with a large upside-down bowl and let sit for 30 min.
- Fold and scootch – uncover the dough, repeat the envelope fold then flip the dough. Your next goal is to make a dough ball with minimal disturbance to the dough. Using a dough slice or a flat hand scootch the sides of the dough in and under then turn the dough so you can repeat. This move should start to round up the dough and keep a taut outside layer.
- Proofing – Either dust a proofing bowl or a standard bowl loosely lined with a textured tea towel. Gently place the dough upside down into the bowl. Cover the bowl with a tea towel and place it in the refrigerator for 12-24 hours (this timing is fairly flexible so fit in the next steps with your life!).
- Prep for baking – leave the proofed dough on a counter top to warm/wake up for at least an hour. Turn the oven up to 240centigade and place your dutch oven inside to heat up for at least 45 minutes.
- Baking – take the lid off the dutch oven and carefully tip/place your dough into it. Spritz with a water spray or sprinkle some water on the dough then quickly put the lid back on. Your aim is to minimise how long this all takes so that it retains the heat. Turn the temperature down to 220 centigrade and bake for 40minutes.
- Crust – Remove the lid of the dutch oven and let the bread bake for a further 10 minutes.
- Rest – turn the loaf out onto a cooling rack to rest for at least 30 minutes.
Enjoy!

Start with scales 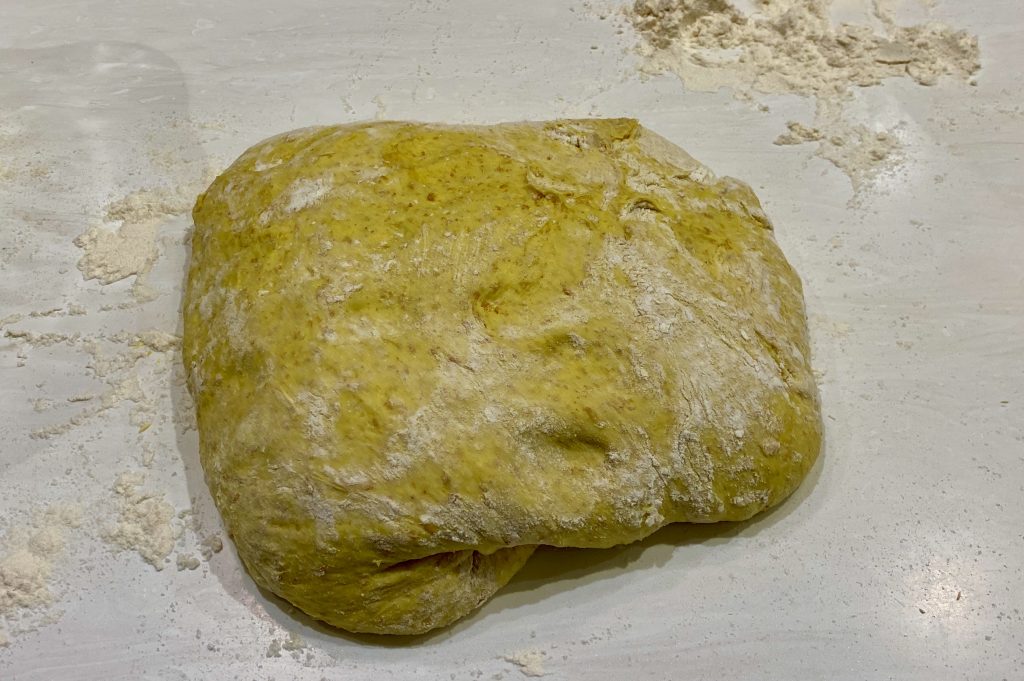
Envelope fold 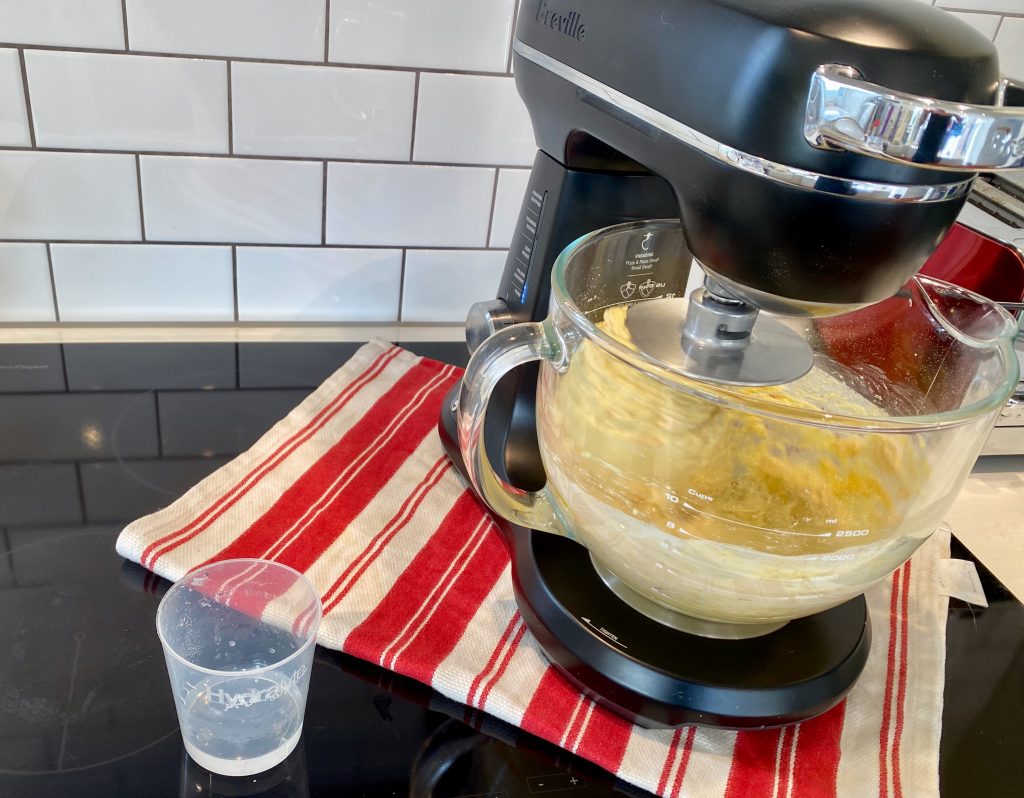
Don’t forget the salt 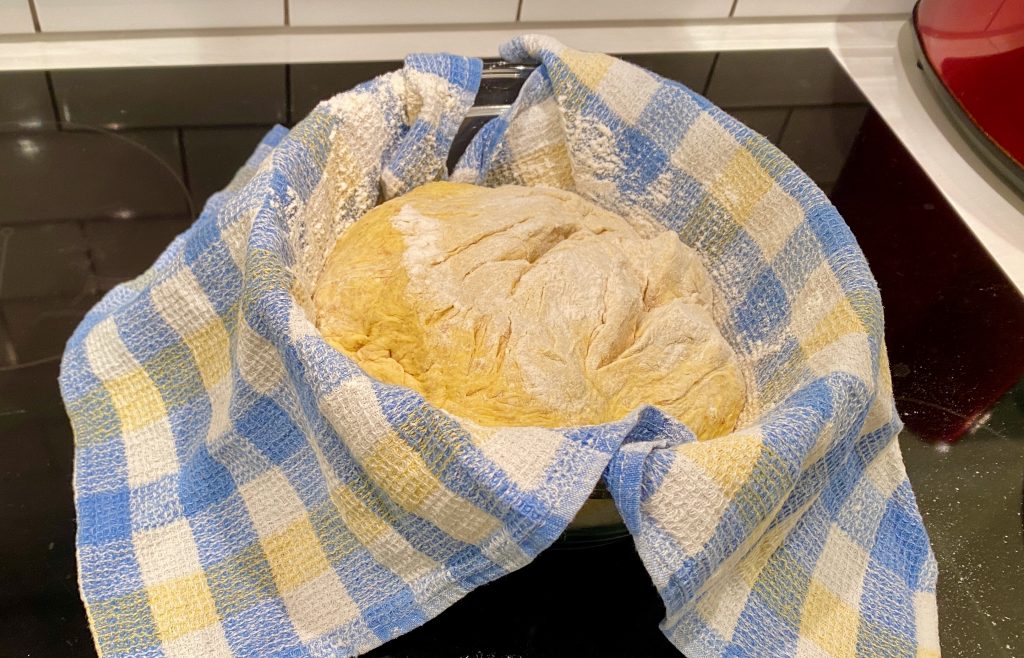
Loaf ready to proof 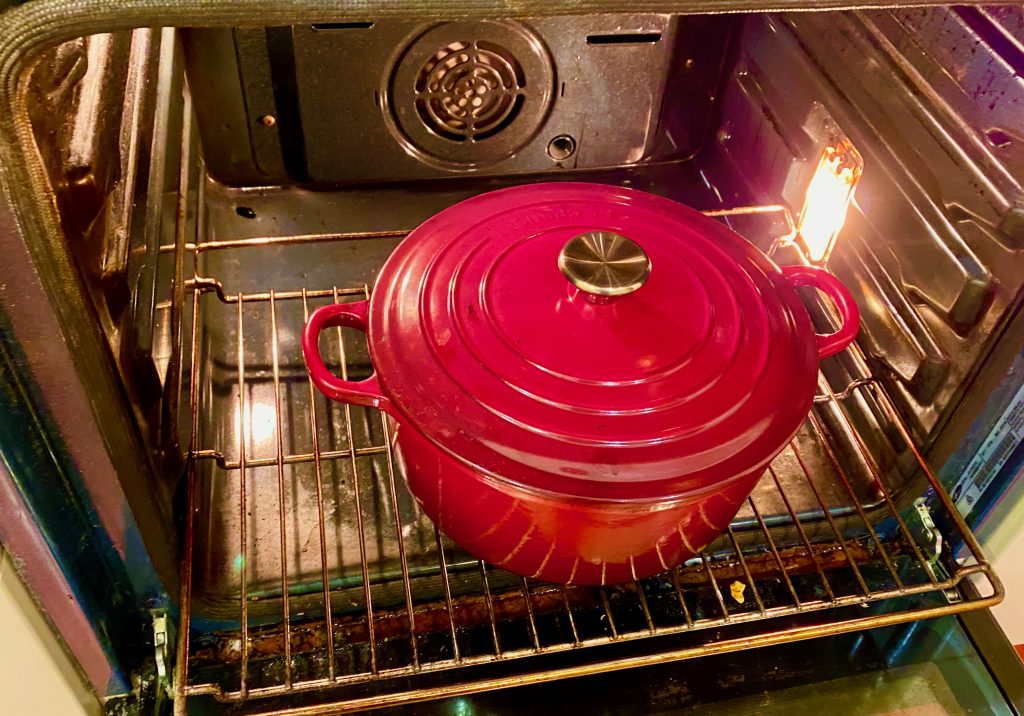
Dutch oven 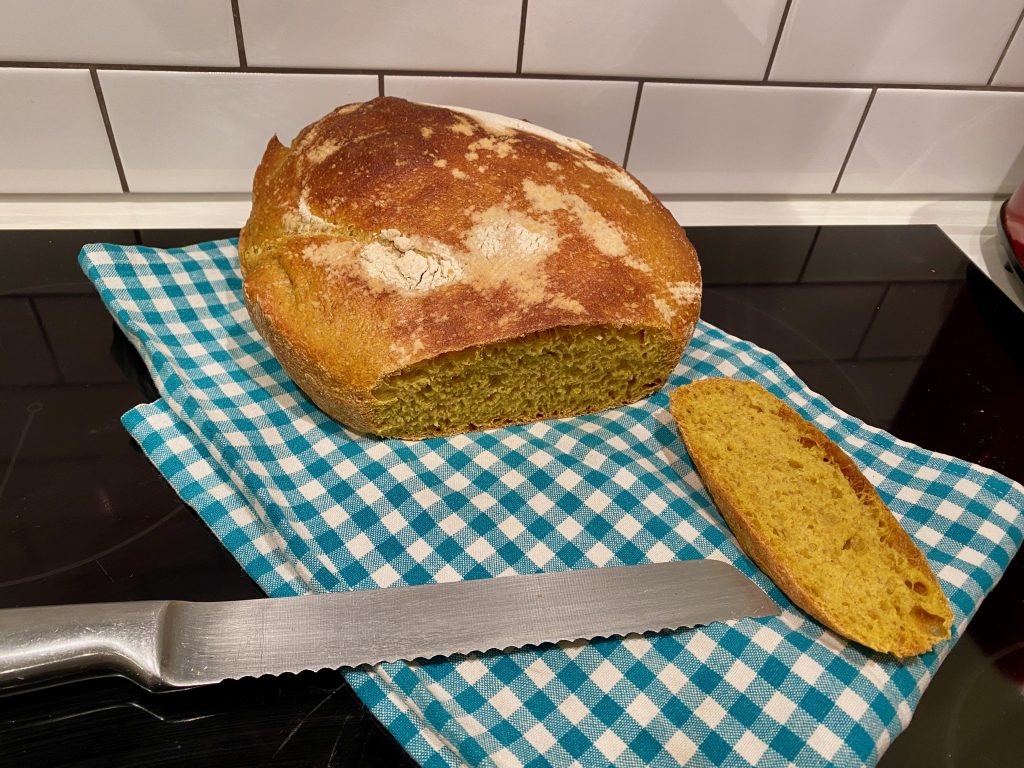
Freshly backed sourdough